4 Winter Crafts to Keep Your Littles Occupied

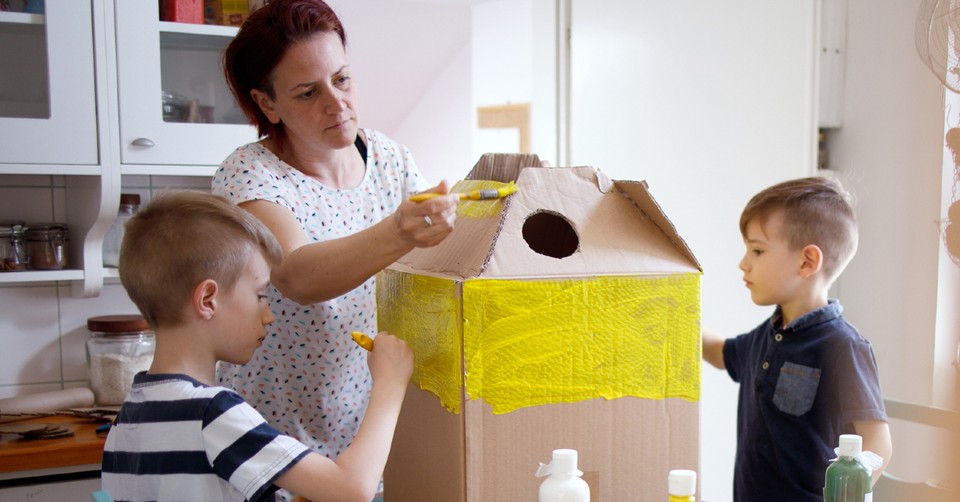
With the new year comes the long winter months, where entertaining children can often be a challenge. From one non-craft mom to other non-craft moms, I am always impressed when I see the crafts that some achieve with their littles. They're works of art. The Van Gogh's of toddlerhood. The Sistine Chapel of home crafts.
Some of us may not have the constitutions for extreme crafting with the littles. More often than not, we'd rather put them at a table, hand them a bunch of supplies, and hope their little minds can fashion them into something engaging—without our help.
How about some winter crafts to keep the littles occupied that take a fair bit of your oversight and interaction but also will keep them entertained and feeling creative?
1. Popsicle Stick Snowflakes
What you'll need: Popsicle sticks, glue/glue gun, acrylic paints, paintbrushes, sequins, buttons, glitter, or other decorative items, string/ribbon.
The first step is to have the kiddos paint the popsicle sticks. Any color will do. Yes, yes, we know that snowflakes are white, but this is the world of imagination, so let's pretend we can use color too. Once the popsicle sticks are dry, you'll need to intervene and glue them into a shape of a snowflake. This is easy enough. Simply join all the popsicle sticks at their mid-point, with them exiting in different directions. Ideally, if you have a glue gun, it will be the most stable way of attaching them and drying the quickest. If not, you can use craft glue, but be prepared for impatient little ones not to want to wait for it to solidify.
When the snowflakes are constructed, you can give the kid's craft glue and allow them to decorate the snowflakes with the various decorative items you've collected. They can glue on buttons, sequins, sprinkle glitter for sparks, or even glue on paper confetti.
To complete, take a piece of string or ribbon and tie it around the midsection to create a large loop. You can hang the snowflakes from suction cups in your window, around doorknobs, or even pop one in a bubble mailer and send it off to grandma!
2. Popsicle Stick Frames
What you'll need: Popsicle sticks, acrylic paint, paint brushes, decorative items likes sequins or buttons, a printed photograph, ribbon or string, tape, glue/glue gun
Let's not leave popsicle stick land too quickly! It's so fun all the things you can do with them, and this one is just a variation of our snowflakes. Follow the same instructions as it relates to painting the popsicle sticks. In this case, you'll need four of them.
Once painted and dry, you will connect the popsicle sticks with glue to create a criss-cross square. This means you'll have two sticks at the top and bottom, and two sticks on either side, both glued together with approximately a ½" to 1" stick out from the glue point. It should create a box/frame with a square gap in the middle. Set your kiddo up to decorate it again with all the decorative items like sequins, buttons, or what-have-you.
The fun part is having your child pick out what photographs they want to highlight in this project! It may be a pet, a selfie, or a picture of mom or dad. You can print a photo straight from your cell phone if you have a Bluetooth printer. Or grab one you recently had printed at the local photo booth. Help your child cut it and position it so that the picture is framed in the square gap in the middle of the popsicle sticks.
Flip the frame over and attach the photo using tape. You can use glue, but it may spread and ruin the image. Tie a ribbon through the top popsicle stick, and you have a fun, crafty handmade photo frame you can hang from just about anywhere!
3. Toilet Paper Roll Creatures
What you'll need: TP rolls, acrylic paint, construction paper, scissors, glue, googly-eyes (optional), paint brushes, ribbon, Sharpie, your imagination.
What to do with all those cardboard TP rolls? Make a zoo! Kids will love this one, and even the non-creative can usually come up with a few ideas to make these a popular craft with the kiddos.
One of our favorites to make is a cat. Paint the TP roll the color you want the cat to be. You can have fun and make them calico by using browns, and blacks, whites, and oranges. Or you can paint the cat white. Or black. Or - you see how versatile this is? You can either paint on cat eyes or glue on the googly-eyes for simplicity's sake. Choose a color of construction paper and cut out small triangles. Glue these triangles at the top of the roll where the cat's ears should be. Then, cut a small length of ribbon for the tail and glue it to the back of the TP roll. Take your Sharpie and draw a triangle for a nose and add a smile. You can also cut small strips of construction paper and glue them on for whiskers.
Other animals you can make similarly using the same materials are penguins, ducks, dogs, lions, and if you're super creative, you can even tip the TP roll on its side to make crocodiles, hippos, zebras, and more!
4. Oobleck
What you'll need: Cornstarch, Water, 1 C measuring cup, food colors, bowl, plastic baggies
This one is probably my favorite considering my crafting abilities are limited to this article. Oobleck is a fun form of slime, only less - slimy. Definitely easier to make too.
Simply mix 2 C of cornstarch with 1 C of water. Add drops of whatever food color you want. Once you make the oobleck, you may want to separate it so you can make different groupings of colors. The kids love adding the colors and then mixing them with their fingers.
Allow the kids to play. It's that simple. Oobleck has a fun feel to it. It's great to stretch and squeeze, squirt between fingers, and roll in your hands. It's not terribly messy, either, as long as you keep the kids to one area. When they're done playing with the oobleck, you can put it into plastic baggies that allow the kids to play with it later. Often, we even keep it in the baggies and just play with it through the plastic, which is another form of entertainment in and of itself.
Winter crafts don't have to be complicated. As parents, we can overcomplicate and sometimes end up not allowing our children to be creative because it is simply daunting to us. But it's so crucial for kids to keep their senses alive, especially during the winter doldrums. These crafts are a few easy ways to do that. With a bit of preparation, a little observation, and a little cooperation, you can all have fun without an intense investment of time, and without the extreme mess to clean up when all is said and done. And remember, nothing thrills a grandparent more than a homemade craft from one of the littles!
Jaime Jo Wright is an ECPA and Publisher’s Weekly bestselling author. Her novel “The House on Foster Hill” won the prestigious Christy Award and she continues to publish Gothic thrillers for the inspirational market. Jaime Jo resides in the woods of Wisconsin, lives in dreamland, exists in reality, and invites you to join her adventures at jaimewrightbooks.com and at her podcast madlitmusings.com where she discusses the deeper issues of story and faith with fellow authors.
Originally published January 04, 2022.


